 Hyundai Sonata: Room Lamp. Repair procedures
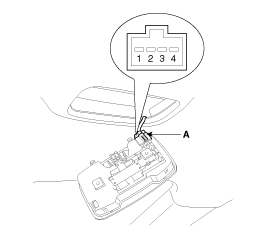
Inspection
Room Lamp
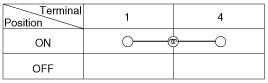
| 1. |
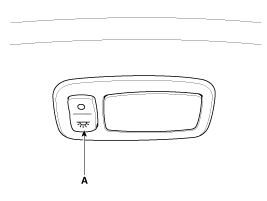
Check that the switch operates properly after disconnecting the
room lamp connector (A).
|

Removal
Room Lamp
| 1. |
Disconnect the negative(-) battery terminal.
|
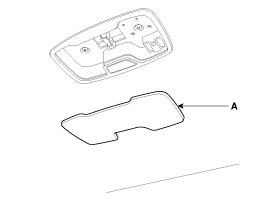
| 2. |
Carefully remove the lens (A) using a small screwdriver.
|
| 3. |
Remove the bulb.
|
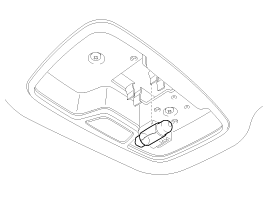
| 4. |
Remove the room lamp after loosening the mounting screws.
|
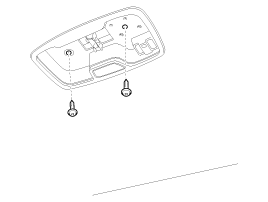
| 5. |
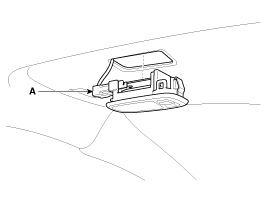
Remove the room lamp assembly (A) from the head lining after disconnecting
the connector.
|

Vanity Lamp
| 1. |
Disconnect the negative (-) battery terminal.
|
| 2. |
Remove the vanity lamp (A) prying out with a small screwdriver.
|
| 3. |
Remove the vanity lamp assembly after disconnecting the connector
(A).
|
Installation
Room Lamp
| 1. |
Reconnect the connector.
|
| 2. |
Install the room lamp assembly.
|
| 3. |
Install the len.
|
Vanity Lamp
| 1. |
Reconnect the vanity lamp connector.
|
| 2. |
Install the vanity lamp.
|
 Head Lamps. Repair procedures
Removal
1.
Disconnect the negative (-) battery terminal.
2.
Remove the front bumper.
(Refer to the BD group - "Front bumper") ...
 Overhead Console Lamp. Schematic Diagrams
Circuit Diagram
...
See also:
Reset items
Items should be reset after the battery has been discharged or the battery has
been disconnected.
Auto up/down window (See section 4)
Sunroof (See section 4)
Trip computer (See section 4)
...
Components and Components Location
Component
...
Front Wiper Motor. Components and Components Location
Component Location
1. Cap
2. Nut
3. Wiper arm & blade
4. Rivet
5. Cowl top cover
6. Bolt
7. Wiper motor & linkage assembly
...
