 Hyundai Sonata: Crash Pad. Repair procedures
Replacement
|
| 1. |
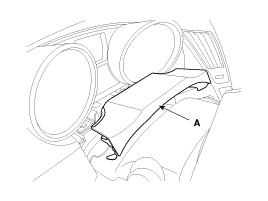
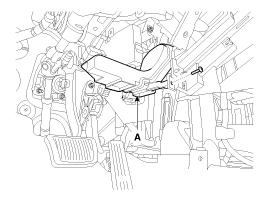
Using a screwdriver or remover, remove the cluster fascia panel
(A).
|
| 2. |
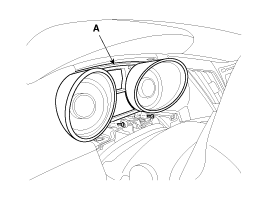
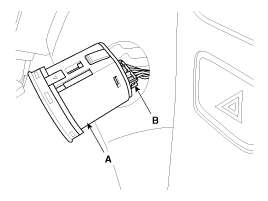
After loosening the mounting screws, then remove the cluster assembly
(A).
|
| 3. |
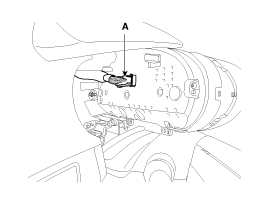
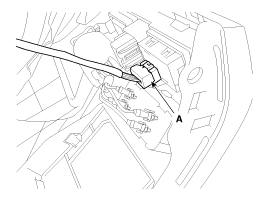
Disconnec the connector (A).
|
| 4. |
Installation is the reverse the removal.
|
|
| 1. |
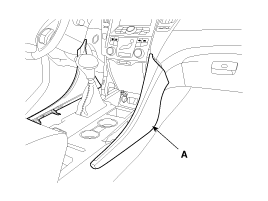
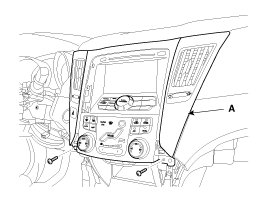
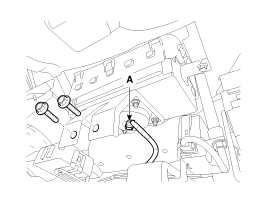
Using a screwdriver or remover, remove the crash pad garnish (A).
|
| 2. |
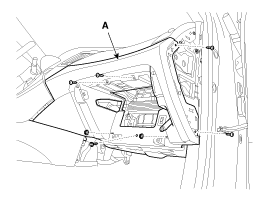
After loosening the mounting screws, then remove the center facia
panel (A).
|
| 3. |
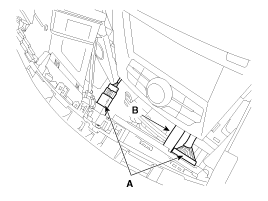
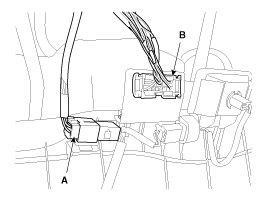
Disconnect the connector (A) and hose (B).
|
| 4. |
Installation is the reverse the removal.
|
| 1. |
Remove the crash pad garnish.
|
| 2. |
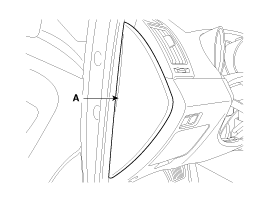
Using a screwdriver or remover, remove the crash pad side cover
(A).
|
| 3. |
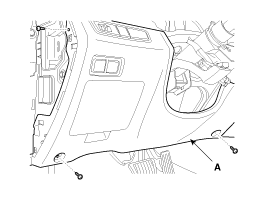
After loosening the crash pad lower panel mounting screws, then
remove the lower panel (A).
|
| 4. |
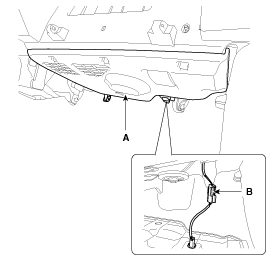
Disconnect the connector (A).
|
| 5. |
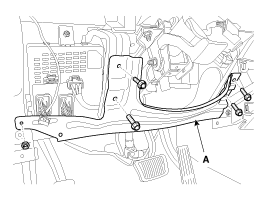
Disconnect the connector (A) and diagnosis connector (B).
|
| 6. |
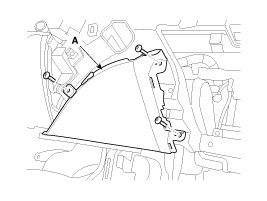
After loosening the mounting bolts and nut, then remove the reinforcing
panel (A).
|
| 7. |
Installation is the reverse of removal.
|
| 1. |
Remove the crash pad garnish.
|
| 2. |
Remove the center facia panel.
|
| 3. |
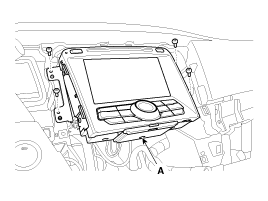
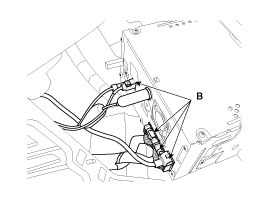
After loosening the audio assembly mounting screws, then remove
the audio assembly (A).
|
| 4. |
Disconnect the connectors (B).
|
| 5. |
Installation is the reverse of removal.
|
| 1. |
Remove the crash pad garnish.
|
| 2. |
Remove the center facia panel.
|
| 3. |
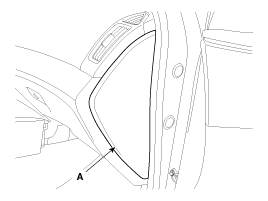
Using a screwdriver or remover, remove the crash pad side cover
(A).
|
| 4. |
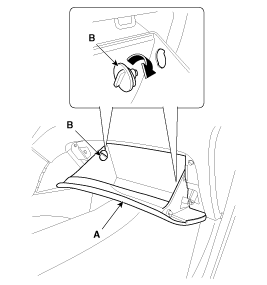
Disconnect the guide (B) from the glove box (A).
|
| 5. |
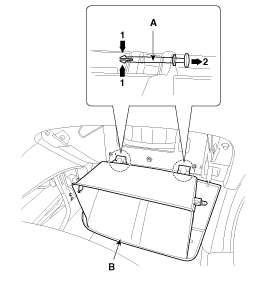
Disconnect the pin (A) and then remove the glove box (B).
|
| 6. |
Remove the glove box lower panel (A).
|
| 7. |
Disconnect the connector (B).
|
| 8. |
After loosening the mounting screws and nuts, then remove the
glove box housing (A).
|
| 9. |
Installation is the reverse of removal.
|
| 1. |
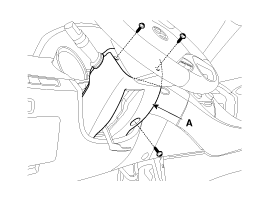
After loosening the mounting screws, then remove the shroud assembly
(A).
|
| 2. |
Installation is the reverse of removal.
|
|
| 1. |
Remove the crash pad garnish.
|
| 2. |
Remove the center facia panel.
|
| 3. |
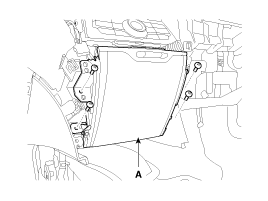
After loosening the mounting screws, then remove the crash pad
center lower tray (A).
|
| 4. |
Installation is the reverse of removal.
|
|
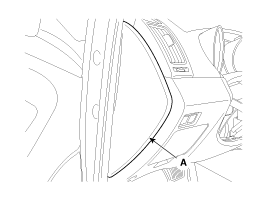
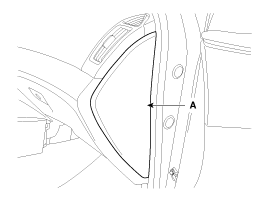
| 1. |
Remove the crash pad side cover (A).
[Driver's]
[Passenger's]
|
| 2. |
Installation is the reverse of removal.
|
|
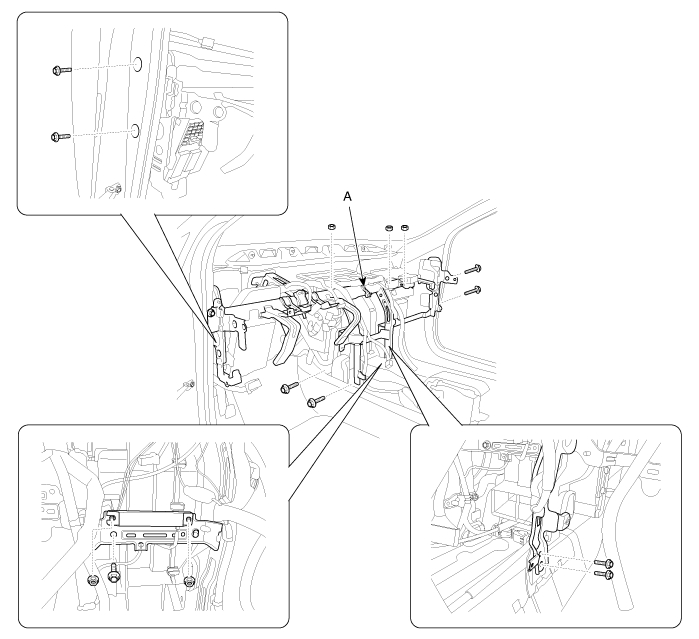
| 1. |
Remove the following items:
|
| 2. |
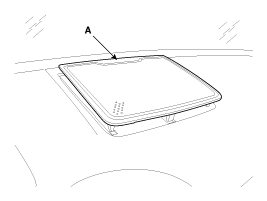
Using a screwdriver or remover, remove the center speaker grill
(A).
|
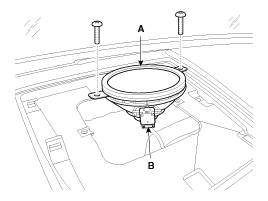
| 3. |
After loosening the mounting screws, then remove the center speaker
(A).
|
| 4. |
Disconnect the connector (B)..
|
| 5. |
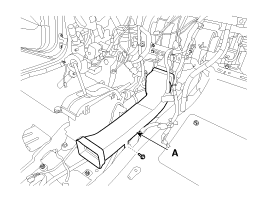
After loosening the mounting screw, then remove the air duct (A).
|
| 6. |
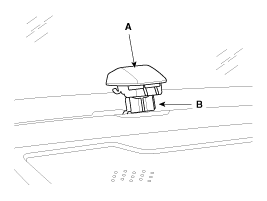
Using a screwdriver or remover, remove the start / stop putton
(A).
|
| 7. |
Disconnect the start / stop button connector (B).
|
| 8. |
Disconnect the passenger`s airbag connector (A).
|
| 9. |
Loosen the mounting bolts.
|
| 10. |
After loosening the mounting screws, then remove key set bezel
(A).
|
| 11. |
Using a screwdriver or remover, remove the photo sensor (A).
|
| 12. |
Disconnect the photo sensor connector (B).
|
| 13. |
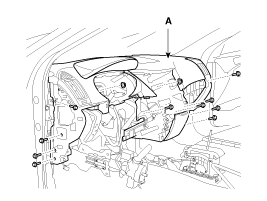
After loosening the mounting bolts and nuts, then remove the crash
pad (A).
|
| 14. |
Installation is the reverse of removal.
|
| 1. |
Remove the following items :
|
| 2. |
Disconnect the blower unit connectors.
(Refer to the HA group - "Air conditioning system, Heater, Blower")
|
| 3. |
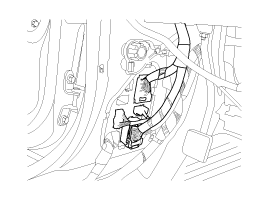
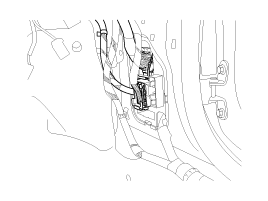
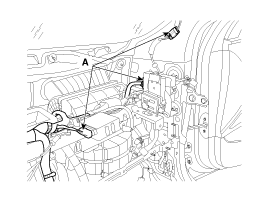
Disconnect the wiring connectors.
[Driver's]
[passenger's]
|
| 4. |
After loosening the mounting bolts, then remove the air duct (A).
|
| 5. |
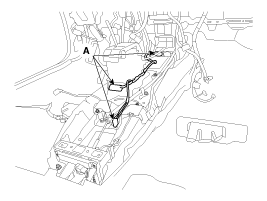
Disconnect the airbag connectors (A) mounting wiring clips.
|
| 6. |
Disconnect the connectors (A) mounting clips.
|
| 7. |
Remove the cowl top cover.
(Refer to the BD group - "Cowl Top Cover")
|
| 8. |
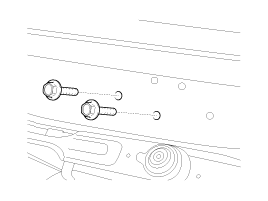
Loosen the mounting bolts.
|
| 9. |
After loosening the mounting bolts and nuts, then remove the cowl
cross bar (A).
|
| 10. |
Installation is the reverse of removal.
|
 Crash Pad. Components and Components Location
Components
1. Main crash pad
2. Air vent
3. Center air vent
4. Cluster lower panel
5. Cluster assembly
6. Cluster facia side panel
7. Key set bezel
8. ...
 Roof Trim. Components and Components Location
Components
1. Roof trim
2. Sunvisor
3. Retainer
4. Assist handle bracket
...
See also:
If the engine will not start
If engine doesn't turn over or turns over slowly
1. If your vehicle has an automatic transaxle, be sure the shift lever is in
N (Neutral) or P (Park) and the emergency brake is set.
2. Check t ...
Variable Intake Solenoid (VIS) Valve. Description and Operation
Description
Variable Intake manifold Solenoid (VIS) valve is installed on the intake
manifold. The VIS valve controls the vacuum modulator which activates a valve
in the intake manifold. The ...
Components and Components Location
Components
1. Front seat belt
2. Height adjuster
3. Rear seat belt (RH)
4. Rear center seat belt
5. Rear seat belt (LH)
6. Rear center seat belt buckle
...

