 Hyundai Sonata: Room Lamp. Repair procedures
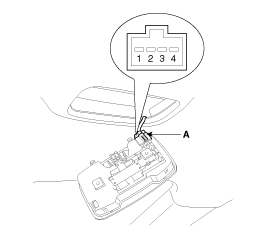
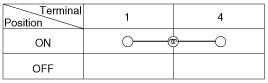
Inspection
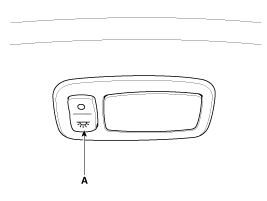
Room Lamp
| 1. |
Check that the switch operates properly after disconnecting the
room lamp connector (A).
|

Removal
Room Lamp
| 1. |
Disconnect the negative(-) battery terminal.
|
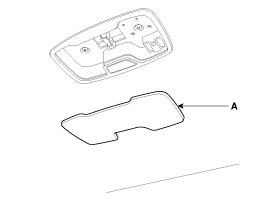
| 2. |
Carefully remove the lens (A) using a small screwdriver.
|
| 3. |
Remove the bulb.
|
| 4. |
Remove the room lamp after loosening the mounting screws.
|
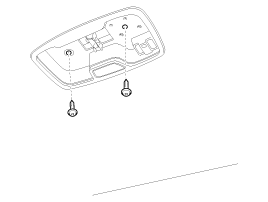
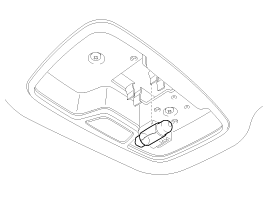
| 5. |
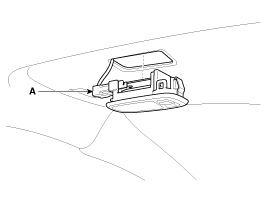
Remove the room lamp assembly (A) from the head lining after disconnecting
the connector.
|

Vanity Lamp
| 1. |
Disconnect the negative (-) battery terminal.
|
| 2. |
Remove the vanity lamp (A) prying out with a small screwdriver.
|
| 3. |
Remove the vanity lamp assembly after disconnecting the connector
(A).
|
Installation
Room Lamp
| 1. |
Reconnect the connector.
|
| 2. |
Install the room lamp assembly.
|
| 3. |
Install the len.
|
Vanity Lamp
| 1. |
Reconnect the vanity lamp connector.
|
| 2. |
Install the vanity lamp.
|
 Head Lamps. Repair procedures
Removal
1.
Disconnect the negative (-) battery terminal.
2.
Remove the front bumper.
(Refer to the BD group - "Front bumper") ...
 Overhead Console Lamp. Schematic Diagrams
Circuit Diagram
...
See also:
PDM(Power Distribution Module). Repair procedures
Inspection
PDM Diagnosis With GDS
1.
It will be able to diagnose defects of Smart key with GDS quickly.
GDS can operates actuator forcefully, input/output valu ...
Alignment. Repair procedures
Front Wheel Alignment
When using a commercially available computerized wheel alignment
equipment to inspect the front wheel al ...
Manifold Absolute Pressure Sensor (MAPS). Schematic Diagrams
Circuit Diagram
...
