 Hyundai Sonata: Front Seat. Repair procedures
Replaccement
Seat Assembly Replacement
| 1. |
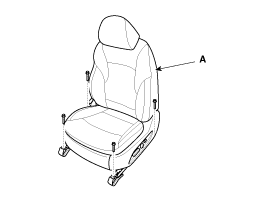
Remove the seat assembly mounting cover.
|
| 2. |
After loosening the seat assembly mounting bolts, remove the seat
assembly (A).
|
| 3. |
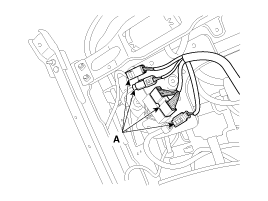
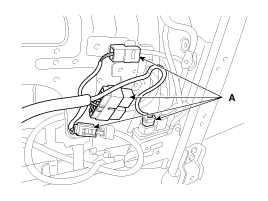
Disconnect the connectors (A).
[Driver's]
[Passenger's]
|
| 4. |
Installation is the reverse of removal.
|
Recliner Cover Replacement
| 1. |
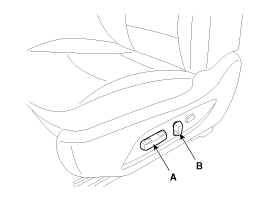
Remove the recliner switch (A) and hight switch (B).
|
| 2. |
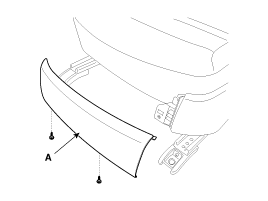
After loosening the mounting screws, then remove the recliner
center cover(A).
|
| 3. |
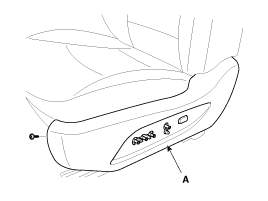
After loosening the mounting screws, and then remove the recliner
cover(A).
|
| 4. |
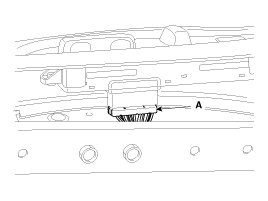
Disconnect the connector (A).
|
| 5. |
Installation is the reverse of removal.
|
Seat Back Replacement
| 1. |
Remove front seat assembly.
|
| 2. |
Remove the headrest.
|
| 3. |
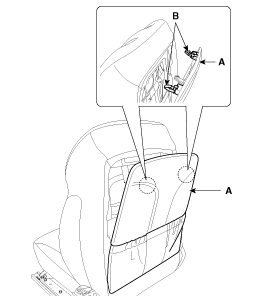
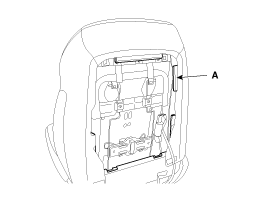
Push the clips (B) from the seat back panel (A).
|
| 4. |
Push the protector (A) by the seat back frame.
|
| 5. |
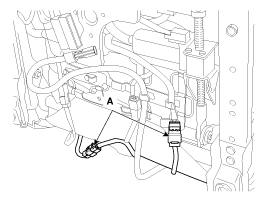
Disconnect the connector (A) mounting clip.
|
| 6. |
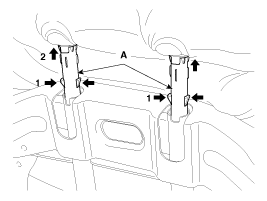
Pull out the headrest guides (A) while pinching the end of the
guides, and remove them.
|
| 7. |
Remove the seat back from the frame.
|
| 8. |
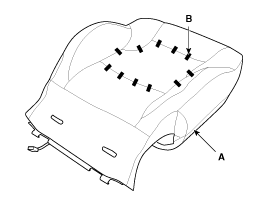
After removing the hogring clips (B) on the front of seat back
and remove the seat back cover (A).
|
| 9. |
Installation is the reverse of removal.
|
Seat Cushion Cover Replacement
| 1. |
Remove front seat assembly.
|
| 2. |
Remove the recliner cover.
|
| 3. |
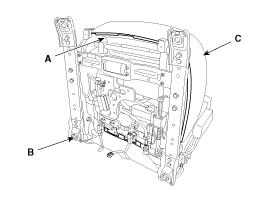
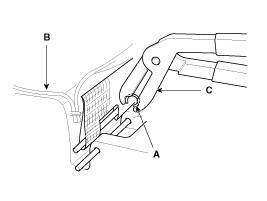
Push the protecter(A), and then seat cushion cover (C) from the
frame(B).
|
| 4. |
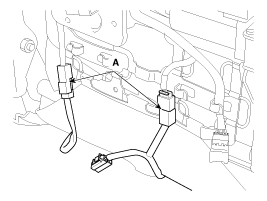
Disconnect the connectors (A).
|
| 5. |
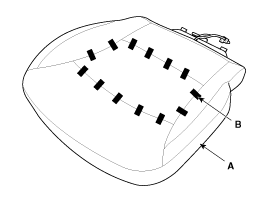
After removing the hogring clips (B) on the front of seat cushion
and remove the seat cushion cover (A).
|
| 6. |
Installation is the reverse of removal.
|
Seat Frame Replacement
| 1. |
Remove the front seat assembly.
|
| 2. |
Remove the seat back cover.
|
| 3. |
Remove the seat cushion cover.
|
| 4. |
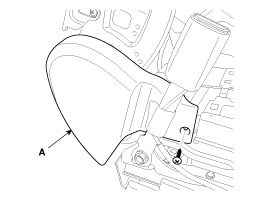
After loosening the mounting screw, then remove the front seat
shield cover (A).
|
| 5. |
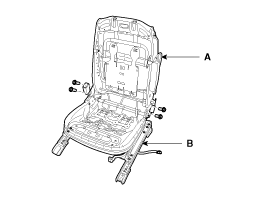
After loosening the mounting bolts, then disconnect the seat back
frame (A) and seat cushion frame (B).
|
| 6. |
Installation is the reverse of removal.
|
 Front Seat. Components and Components Location
Components
1. Headrest
2. Seat back panel
3. Seat back frame
4. Seat back cover
5. Seat cushion cover
6. Shield cover
7. Seat cushion frame
8. ...
 Rear Seat. Components and Components Location
Components
1. Rear seat back
2. Rear seat cushion
3. Armrest
...
See also:
Room lamp
To turn the room lamp ON or OFF, push the switch or lens.
CAUTION
Do not leave the lamp switches on for an extended period of time when the
vehicle is not running. ...
CD Player : Audio with internal amplifier / Audio with external amplifier
...
Schematic Diagrams
Circuit Diagram - ESC (1)
Circuit Diagram - ESC (2)
Circuit Diagram - ESC (3)
ESC HECU Connector input/output
Connector Terminal
Specifications
...

