 Hyundai Sonata: Rear Glass Defogger Switch. Repair procedures
Inspection
| 1. |
The rear glass defogger switch inputs can be checked using the
GDS.
|
| 2. |
To check the input value of rear glass defogger switch, select
option "Body Control Module".
|
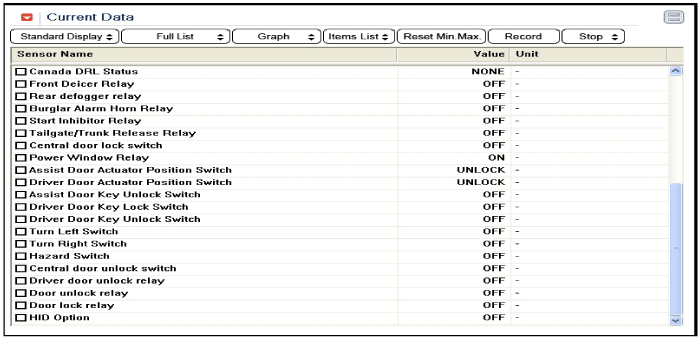
| 3. |
To consult the present input/output value of BCM, "Current DATA".
It provides information of BCM input/output conditions of rear defogger
relay.
|
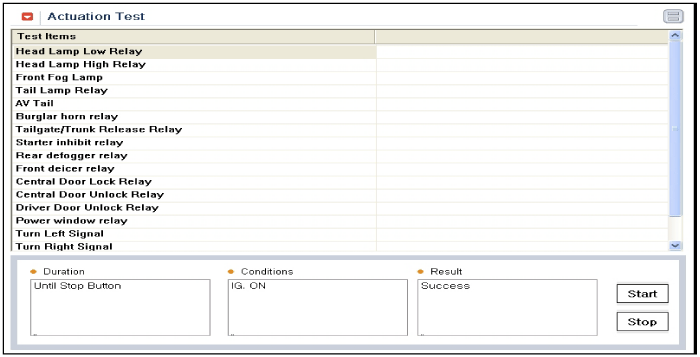
| 4. |
To check the input value of rear glass defogger switch in force
mode, select option "Actuation Test of smart junction box".
|
Removal
| 1. |
Disconnect the negative(-) battery terminal.
|
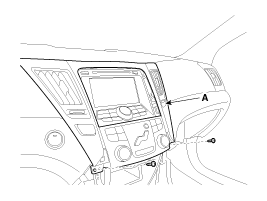
| 2. |
Remove the center fascia panel (A) after loosening the mounting
screws.
|
| 3. |
Disconnect the heater control unit connector (A) and hose (B).
|

| 4. |
Remove the heater control unit contained the rear glass defogger
switch from the center fascia panel.
|
Installation
| 1. |
Install the heater control unit.
|
| 2. |
Install the center fascia panel.
|
| 3. |
Install the crash pad garnish.
|
 Rear Glass Defogger Printed Heater. Repair procedures
Inspection
Wrap tin foil around the end of the voltmeter test lead to prevent
damaging the heater line. Apply finger pressure ...

See also:
Turn signals and lane change signals
The ignition switch must be on for the turn signals to function. To turn on the
turn signals, move the lever up or down (A). Green arrow indicators on the instrument
panel indicate which turn ...
Air bag - advanced supplemental restraint system
* The actual air bags in the vehicle may differ from the illustration.
(1) Driver’s front air bag
(2) Passenger’s front air bag
(3) Side impact air bag
(4) Curtain air bag
WARNING
Even in ...
Battery. Components and Components Location
Components
1. Battery insulation pad
2. Battery
3. Battery tray
4. Battery mounting bracket
...
