 Hyundai Sonata: Front Lower Arm. Repair procedures - Revised
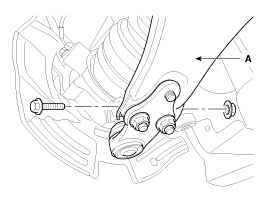
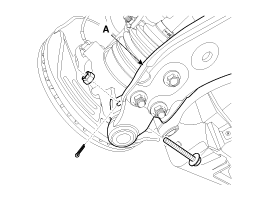
Replacement
| 1. |
Remove the front wheel & tire.
|
| 2. |
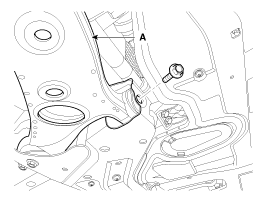
Loosen the bolt & nut and then remove the lower arm (A).
|
| 3. |
Remove the front lower arm (A) and then loosen the bolts & nuts.
|
| 4. |
Installation is the reverse of removal.
|
Replacement
| 1. |
Remove the front wheel & tire.
|
| 2. |
Loosen the bolt & nut and then remove the lower arm (A).
|
| 3. |
Remove the front lower arm (A) and then loosen the bolts & nuts.
|

| 4. |
Installation is the reverse of removal.
|
Inspection
| 1. |
Check the bushing for wear and deterioration.
|
| 2. |
Check the all bolts and nuts.
|
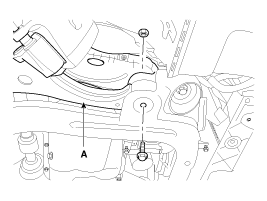
 Front Strut Assembly. Repair procedures - Revised
Replacement
1.
Remove the front wheel & tire.
Tightening torque:
88.3 ~ 107.9 N.m (9.0 ~ 11.0 kgf.m, 65.1 ~ 79.6 lb-ft)
...
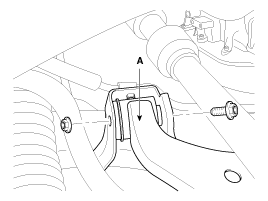
 Front Stabilizer Bar. Repair procedures - Revised
Replacement
1.
Remove the front wheel & tire.
Tightening torque:
88.3 ~ 107.9 N.m (9.0 ~ 11.0 kgf.m, 65.1 ~ 79.6 lb-ft)
...
See also:
Specifications
Specifications
Item
Specification
Clutch operation method
Hydraulic type
Clutch cover assembly
Type
Diaphr ...
Starter. Repair procedures
Removal and Installation
1.
Remove the engine cover.
2.
Disconnect the battery negative terminal (A).
Tightening tor ...
Troubleshooting
Troubleshooting
Trouble Symptom
Probable cause
Remedy
Vehicle pulls to one side
Scoring of driveshaft ball joint
Replace
...
