
 Hyundai Sonata: Hands Free Switch. Repair procedures
Inspection
| 1. |
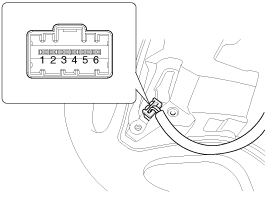
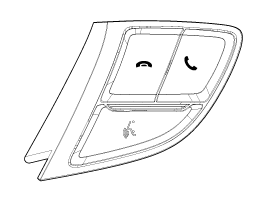
Check the hands free remote control switch for resistance between
No.3 and No.4 terminals in each switch position.
|
| 2. |
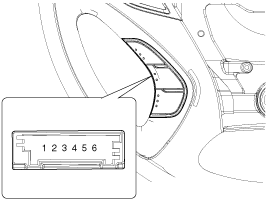
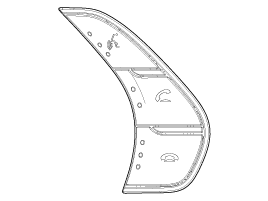
In case of LH, check the hands free remote control switch for
resistance between No.3 and No.4 terminals in each switch position.
|
Removal
| 1. |
Disconnect the negative (-) battery terminal.
|
| 2. |
Remove the driver airbag module.
(Refer to the RT group)
|
| 3. |
Remove the steering wheel.
(Refer to the ST group - "Steering column & shaft")
|
| 4. |
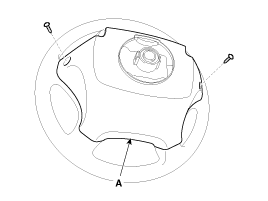
Remove the steering wheel cover (A) after loosening the screws.
|
| 5. |
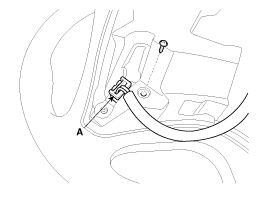
Remove the steering wheel remote control switch connector (A)
after loosening the mounting screws.
|
Installation
| 1. |
Reassemble the steering wheel remote control switch after connecting
the connector.
|
| 2. |
Reassemble the steering wheel.
|
| 3. |
Reassemble the driver airbag module.
|

 Hands Free Switch. Schematic Diagrams
Circuit Diagram
...
 Hands Free Mic. Repair procedures
Inspection
1.
Disconnect the negative(-) battery terminal.
2.
Remove the roof trim.
(Refer to the BD group - "Roof trim")
...
See also:
Rail Pressure Sensor (RPS). Troubleshooting
Signal Waveform
...
Sunvisor
Use the sunvisor to shield direct light through the front or side windows. To
use a sunvisor, pull it downward. To use a sunvisor for a side window, pull it downward,
unsnap it from the br ...
Weight Classification System (WCS). Repair procedures
Removal
1.
Disconnect the battery negative cable, and wait for at least three
minutes before beginning work.
2.
Remove the front passenger ...
