 Hyundai Sonata: Repair procedures
On-vehicle Inspection
|
| 1. |
Check that the battery terminals are not loose or corroded.
|
| 2. |
Check the fuses for continuity.
|
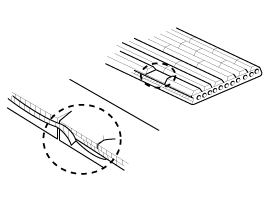
Cracks on the rib side of a belt are considered acceptable. If
the belt has chunks missing from the ribs, it should be replaced.
|
| 1. |
Check that the wiring is in good condition.
|
| 2. |
Check that there is no abnormal noise from the alternator while
the engine is running.
|
| 1. |
Warm up the engine and then turn it off.
|
| 2. |
Turn off all accessories.
|
| 3. |
Turn the ignition switch "ON". Check that the discharge warning
light is lit.
|
| 4. |
Start the engine and Check that the light goes off.
If the light does not go off as specified, troubleshoot the discharge
light circuit.
|
 Description and Operation
Description
The charging system includes a battery, an alternator with a built-in
regulator, and the charging indicator light and wire.
The Alternator has built-in diodes, each rectifying A ...
 Alternator. Components and Components Location
Components
1. Pulley
2. Front bracket
3. Front bearing
4. Bearing cover
5. Bearing cover bolt
6. Rotor
7. Rear bearing
8. Rear bracket
9. Through b ...
See also:
Front Impact Sensor (FIS). Description and Operation
Description
The front impact sensor (FIS) is installed in the Front End Module (FEM).
They are remote sensors that detect acceleration due to a collision at its mounting
location. The primar ...
ETC (Electronic Throttle Control) System. Description and Operation
Description
The Electronic Throttle Control (ETC) System consists of a throttle body
with an integrated control motor and throttle position sensor (TPS). Instead
of the traditional throttle ...
Transaxle Control Module (TCM). Schematic Diagrams
1. TCM Connector and Terminal Function
2. TCM Terminal Function
Connector [CHG-AG]
Pin
Description
Pin
Description
1
& ...
